In a number of posts I have disparaged AI, even made fun of it. But all is not bad. In more tightly applied applications, AI has proven quite capable. Recently my OneDrive dug up a reminder of some old phots from 2012. Those photos were downsized to 1024 pixel. I wondered what some of the recent photo editing apps could do with them.


Here is an evening view of old and new taken at River Street in Savannah. The brighter image is the newly re-processed one, I wanted to get a good look into the shadows where the noise would be more prominent. Indeed the tools in PaintShop Pro, ON1 Photo RAW, Topaz Labs DeNoise and Gigapixel, are quite capable in filling in reconstructing detail, eliminating noise and enhancing images rather well.
Here is a screen capture of Topaz Gigapixel showing how it can reconstruct the rigging from rather pixelated detail.

For a long time I considered Topaz DeNoise AI as the best in smoothing out noise and reconstructing detail. The latest version of ON1 Photo RAW has me impressed with its capability. Here are small areas from one of my old photos with the default denoise settings in Topaz Denoise AI on top And ON1 Photo RAW MAX 2024.3

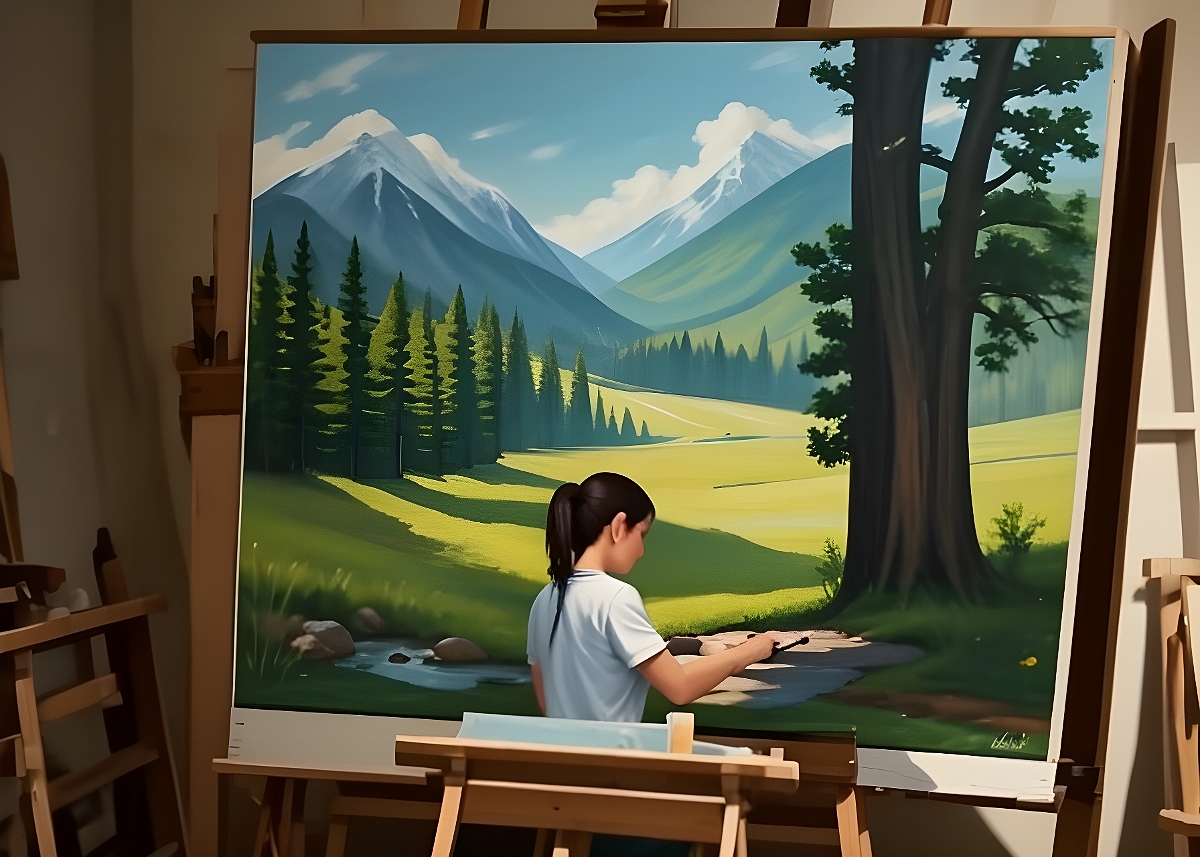
I even discovered interesting detail that I did not know was there. See the photographer in the lower right corner.


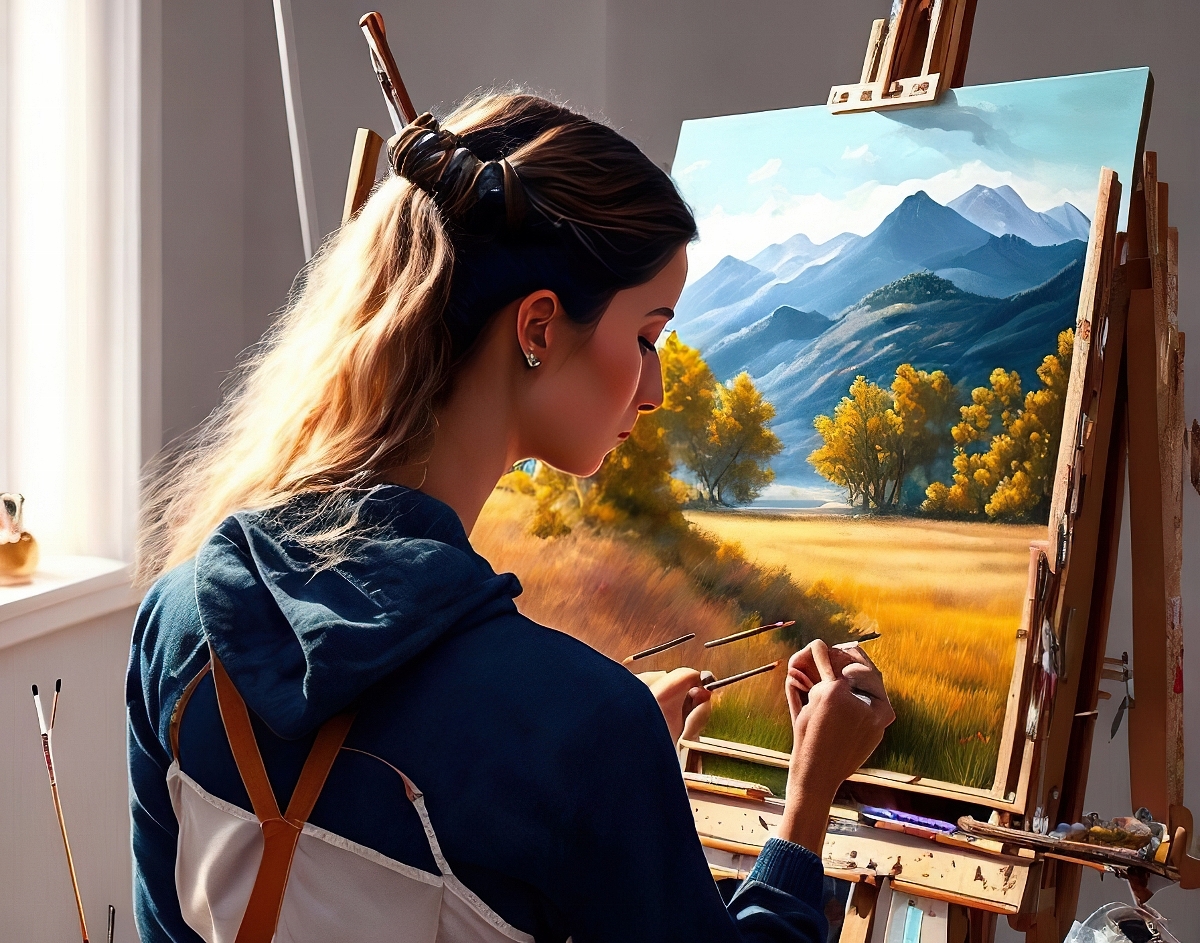
Two more images – just for old-time sake.


 .:. © 2024 Ludwig Keck